Limewashing the beadboard and high-gloss walls in my bathroom
- Jessica Lyn Smith

- Nov 1, 2022
- 3 min read
Updated: Nov 3, 2022

Our downstairs bathroom is a tiny space, and one we hope to renovate someday!
When we bought this house, we knew this room had a lot of potential, but unfortunately, the trim work and pre-fab shower was sloppishly done.

Because we want to renovate this bathroom, and it is pretty cute as it is, I figured a "bandaid renovation" would help make this room feel more fresh.
I considered buying a dark, moody paint color and all new fixtures and hardware for this bathroom makeover, but ultimately decided that using what I already had on hand would get the job done faster, and more affordably, of course!
Heavy emphasis on the faster. It's just how I DIY. I had Romabio Limewash leftover from our kitchen range hood, and since it has a shelf life, decided to use it up! And while I did technically have the proper primer that would allow my limewash to most easily adhere to my glossy walls and beadboard, I ultimately decided to skip this step!
Here is what I used:
For the rule followers, limewash should be applied to a natural surface like raw wood, natural brick or stone. However if the surface you want to limewash is already painted over, you can apply a BioGrip Micro primer for best adhesion.
This is the part I tested.
Go ahead and throw any shame my way. It's okay. I'll share my honest opinion and yes - priming properly is definitely what is recommended when limewashing walls! That said, because I like a budget project and know that mineral paint products can get expensive quickly, I thought I'd try out a zero-primer method and share with you here if you ever want to try limewashing without priming!

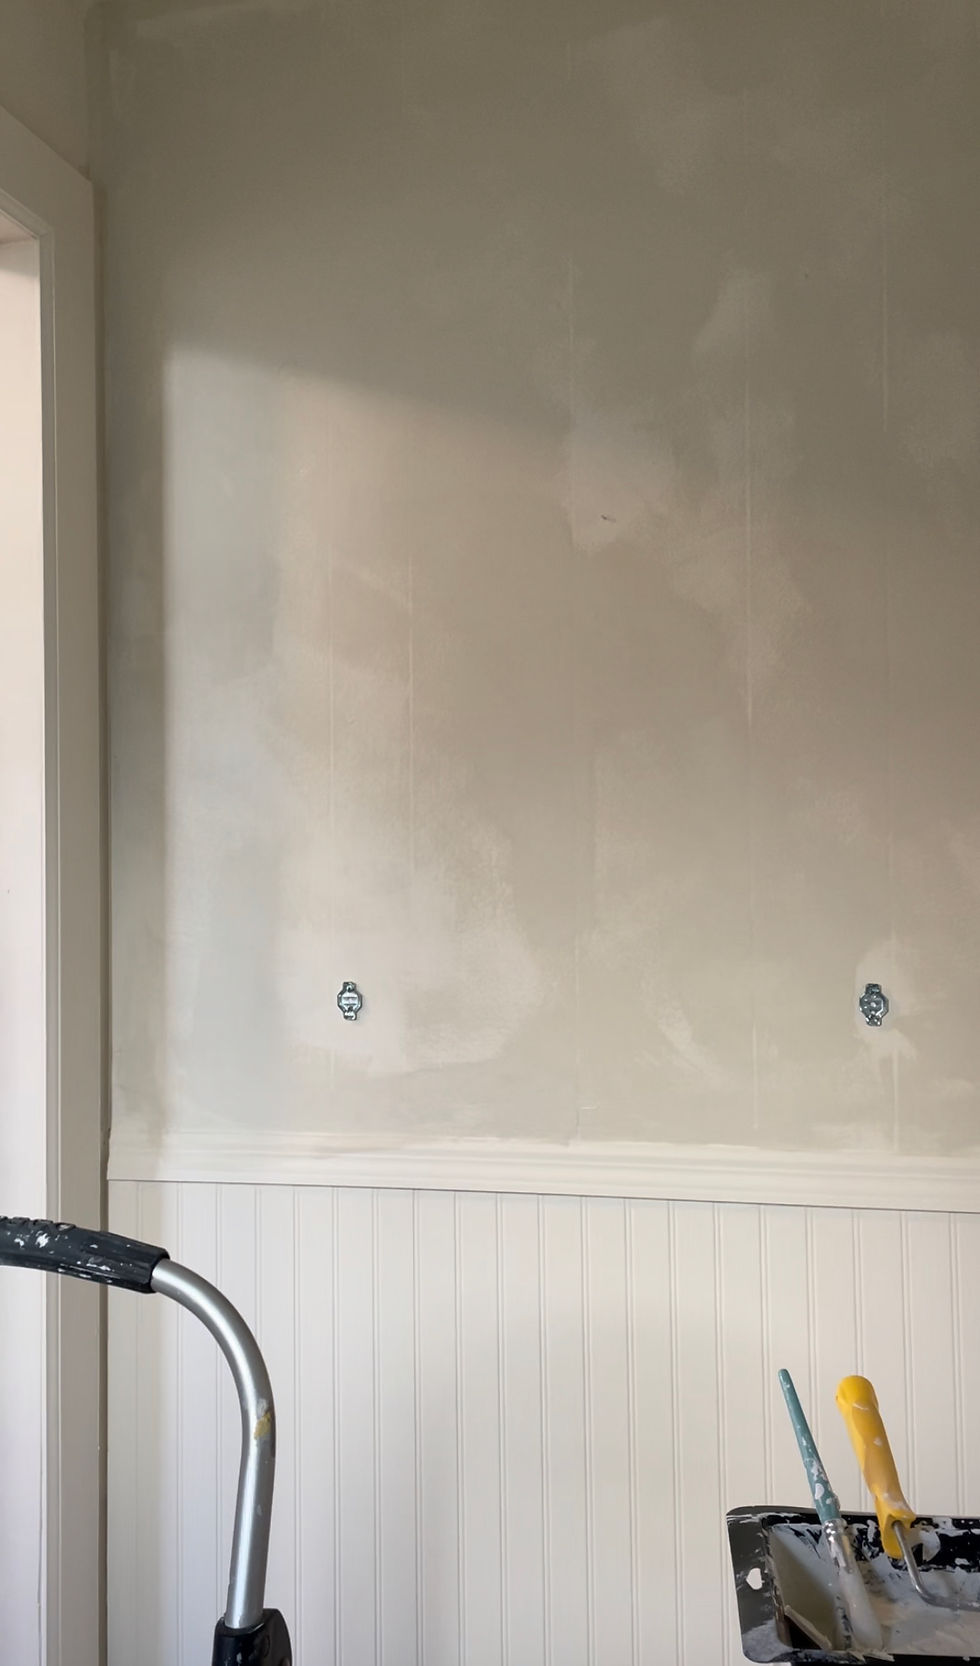
The trick I used to get the limewash to adhere to my glossy walls is to do exactly what the container said not to do, and I rolled the limewash on with a mini roller.
Here's why this isn't how you should apply your finishing coats: You'll be left with a texture on your walls from the roller that is incredibly uneven and rough, whereas limewashing in an "x" formation with a soft paint brush is what will give you that softer look and cloud-like texture.
However, as a primer, uneven and rough is exactly what I needed to create a base layer the finishing coats of limewash could grab onto!
So, I did one very thin layer of rolled-on limewash, and followed up with two coats painted on with a brush.
To brush the limewash on, I used a soft and wide brush to paint clouds, using "x" strokes. I'd start in the middle of what would be a "cloud" and then feathered the edges of the cloud outward. Place the centers of each cloud a good amount of inches away from each other, and as your feather the edges, connect the clouds together. This variation of limewash saturation throughout your wall will give you the fluffy texture you see all over Instagram these days.
The limewash will look a little sandy on your walls after you first apply it, but trust the process. As it sets, your clouds will form together beautifully and soften up.
And that's it! I'm glad I went this direction instead of using a dark color in here. While a small, moody bathroom would be fun, painting a room with something as non-precise as limewash versus a dark paint color was far more forgiving and helped me get the job dont quickly. Plus, the limewash adds a ton of interest to a small space.
I hadn't seen anyone limewash over beadboard before, but I'm glad I did!

Shop the bathroom here: https://liketk.it/3TmOq
Because the bathroom is a "wet space," I plan to seal it with Romabio's Mineral Shield top coat. Let me know if you give this method a try!


Comments